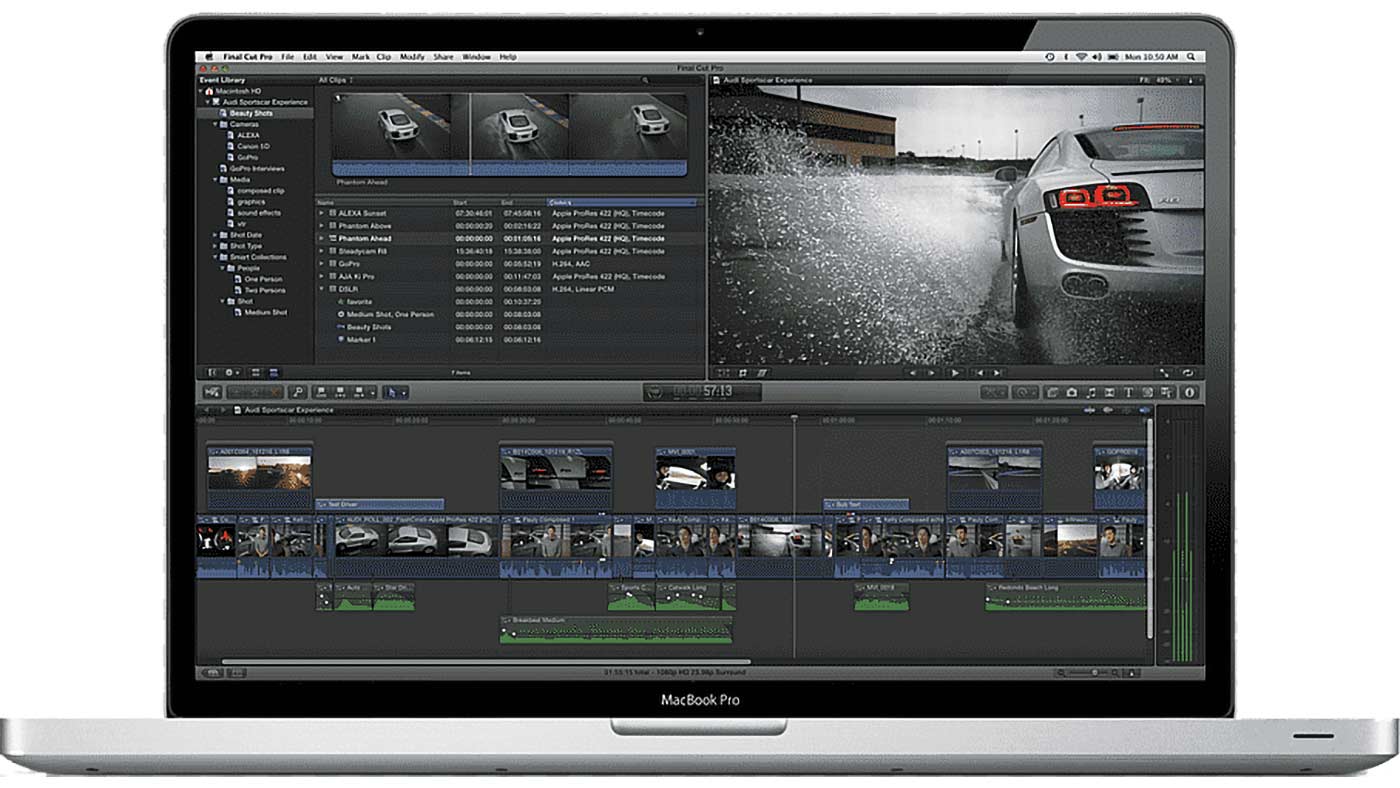
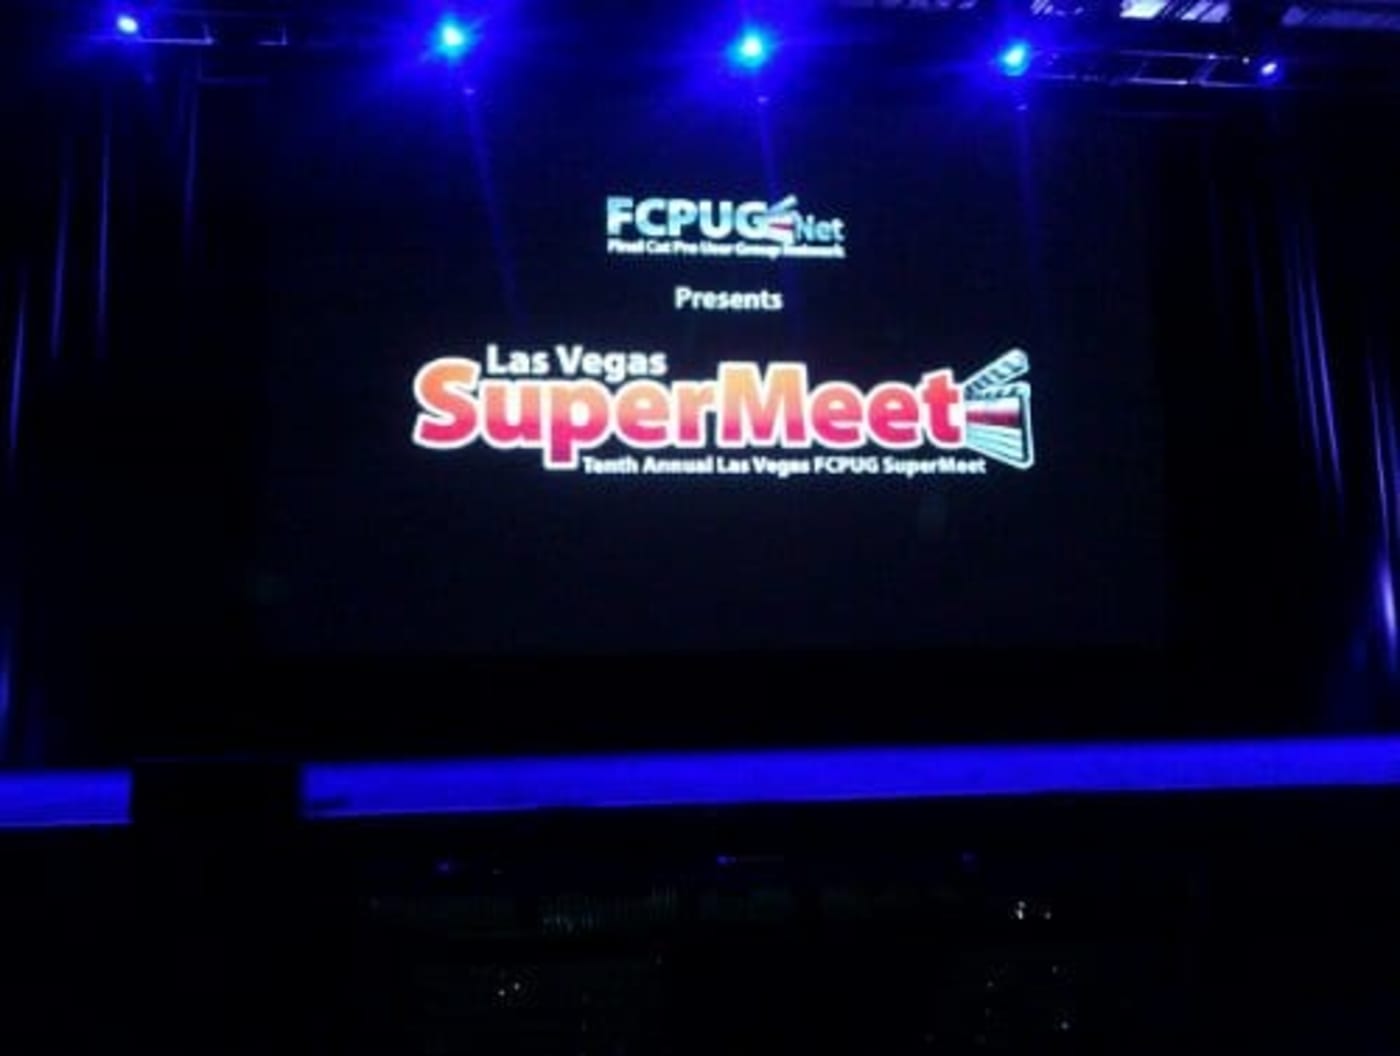
Ten years ago this week, on April 12, 2011, at the NAB Supermeet, Apple made an announcement that would literally send a shockwave throughout the film and video industry. Their popular non-linear editing (NLE) system, Final Cut Pro 7, was being re-made from the ground up. It would get a completely new look, new features, and a new name. Skipping right over versions 8 and 9, it would be called Final Cut Pro X (most likely to align with the relatively new MacOS X at the time).
This new version looked like it had amazing possibilities:
- It would support 64bit.
- It had this funky new Magnetic Timeline and primary Storyline that would allow b-roll and audio clips to stick to its associated media.
- It would have a powerful media management system with keywords powered by metadata.
If you watch the crowd reactions from videos shot that night, you would think you were at a Marvel announcement of the latest Avengers movie at Comic-Con.
As promising as the announcement was, two months later when the new version was released, perhaps not even Apple could have predicted the blowback. Many of the core features that were popular and used frequently in Final Cut Pro 7 were not in Final Cut Pro X when it released. On top of that, it adopted an entirely new paradigm for how it worked. Key collections replaced “Bins.” Tracks were completely eliminated. And perhaps the greatest change of all was that magnetic timeline.
After nearly a decade of slowly becoming a formidable competitor in the NLE space, this new version seemed like it was some kind of tacit announcement that Apple was abandoning the professional market.
Nothing could have been further from the truth.
“Better. Stronger. Faster.”
The famous late 70s TV show “The Six Million Dollar Man” had a famous line from its opening credit sequence:
“We can rebuild him. We have the technology. We can make him better than he was. Better, stronger, faster.”
I can’t help but wonder if the engineers over at Apple didn’t have this phrase in mind when they took to rebuilding Final Cut Pro from scratch. As any professional editor who uses the program will tell you, the “legacy” version of the software pales in comparison to the power and speed of Final Cut Pro X. However, hop on any sub-Reddit, Facebook group, or any other forum for professional editors, and you wouldn’t necessarily know it. To this day, ten years later, I still read comments from editors who claim Final Cut Pro X is not for professionals. It’s just “iMovie Pro” some still say.
Believe it or not, some people still poo-poo the NLE not necessarily because they think it’s not capable, but because they are still hurt. I know this for a fact. I’ve read comments on sub-Reddits where editors have admitted as much. So angry they were at extreme changes Final Cut Pro had undergone, and the way in which the transition was handled (e.g. there was no upgrade path from version 7 and the legacy version was “End of Life’d” at the same time that Final Cut Pro X was released), that many editors today refuse to use it on principle.
Then again, there are those who don’t use it because they have bought into the false notion that Final Cut Pro X is not a “professional” NLE. Well, I want to share with you the top ten reasons that I believe should put that belief to rest.
1. The Magnetic Timeline
Ironically, the feature that causes the most consternation for editors is the one feature that I believe makes it stand head and shoulders above the rest. Admittedly, the Magnetic Timeline is confounding if you’re used to traditional track-based editing. Getting used to clips snapping up to your playhead is often off-putting. And when you shorten the length of a connected clip, the way the entire timeline “rolls” in unison can seem disorienting.
But trust me, there will come a time when eventually it’ll click for you. I describe it like breaking the sound barrier. It’s kind of rocky and bumpy at first; but once you “break through,” it’s smooth sailing. Once you master how the mag-timeline works, the speed with which you edit will easily increase by at least 25%, and most likely more. Do yourself a favor and embrace the Magnetic Timeline.
2. The Storyline and the Trackless Editing
Or, once you lose tracks, you’ll never go back. (Sorry. I couldn’t resist!)
The second most disquieting change for anyone coming from a traditional NLE is the fact that Final Cut Pro X has no tracks. There are no video tracks above the main timeline and no audio tracks below. Video and audio clips just move out of the way for each other as you stack them. Actually, if you wanted to, you can even put video clips below the main Storyline and audio tracks above.
Those who use the program know that the greatest benefit of this is the fact that connected clips stay with whichever part of the timeline they’re connected to. If you have a song, voice-over, b-roll, or some other piece of media that you need to be associated with a particular piece of media in the Primary Storyline, wherever you move that media, those connected clips will follow. You no longer need to worry about b-roll or audio located way down the timeline getting out of sync if you removed something way earlier. The connected clips plus the Magnetic Timeline keeps everything neat and tidy and associated with the media that necessary.
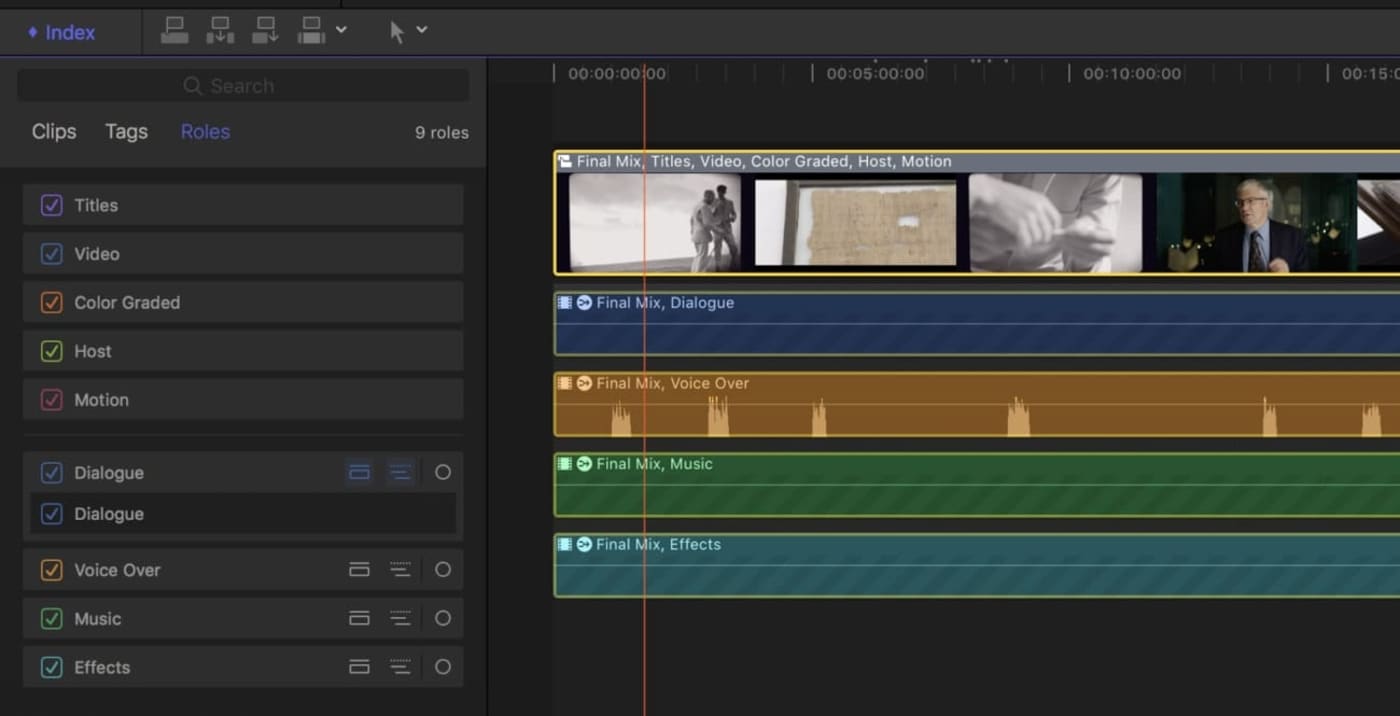
3. Roles as “tracks”
One of the benefits of tracks is the ability to create audio mixes and do refined audio editing by apply effects and adjustments to all the audio clips on a particular track. But how do you do that when there are no tracks? The answer is Roles.
Final Cut Pro X is entirely based on a metadata foundation, and an aspect of that is the ability to assign “Roles” to your media. So you could have Roles for Dialog, Sound Effects, Music, Ambient Noise, etc. You can even create sub-roles. Once Roles are applied, from within the Timeline Index panel, you can turn on “Lanes.” This in effect creates “tracks.” One “track” for each role. Now you can apply effects to just a set of Roles, and even export them separately as their own autonomous audio file should you want a pro audio engineer to do additional work in a program like ProTools or Logic Pro.
This video by OWC workflow architect Sam Memstman (then CEO of LumaForge) still stands as a great demo of the power of Roles:
For a more in-depth look at how you can use Roles, there’s an excellent post on the Frame.io blog.
4. Powerful built-in color grading
When Final Cut Pro X launched ten years ago, its color grading ability was sorely lacking. Not only that, but Apple got rid of Final Cut Pro 7’s traditional color wheels in exchange for the infamous Color Board. The Color Board was just the wheel flattened out. But, it was still a significant paradigm shift.
But in December 2017, with the release of Final Cut Pro X 10.4, it got a color grading upgrade which makes its feature set easily one of the most powerful in the industry.
There’s no need to go into all the nitty-gritty details. It has everything you’d expect to see in a color grading toolset: wheels, luma and chroma curves, color masks, all the scopes you’d want to use (e.g. Vector, RGB overlay, RGB parade, etc.), the ability to import LUTs, and it even still has the ability to use the color board if you were one of the few who appreciated that paradigm.

I will point out that with the advent of HDR, Final Cut Pro X can do fine-tune color correction on HDR footage. In fact, you can even make layer adjustments to each of your highlights, midtones, and blacks. In other words, when correcting HDR footage, with Final Cut Pro X’s HSL tool, you can adjust the highs, mids, and lows within each of the highlights, midtones, or lows of the main project (keeping up?)
Final Cut Pro X’s color grading features alone squash any accusation that this is not a tool for professionals.
This recent demo by Tyler Stalman is a fantastic example of the power of Final Cut Pro X’s color grading suite:
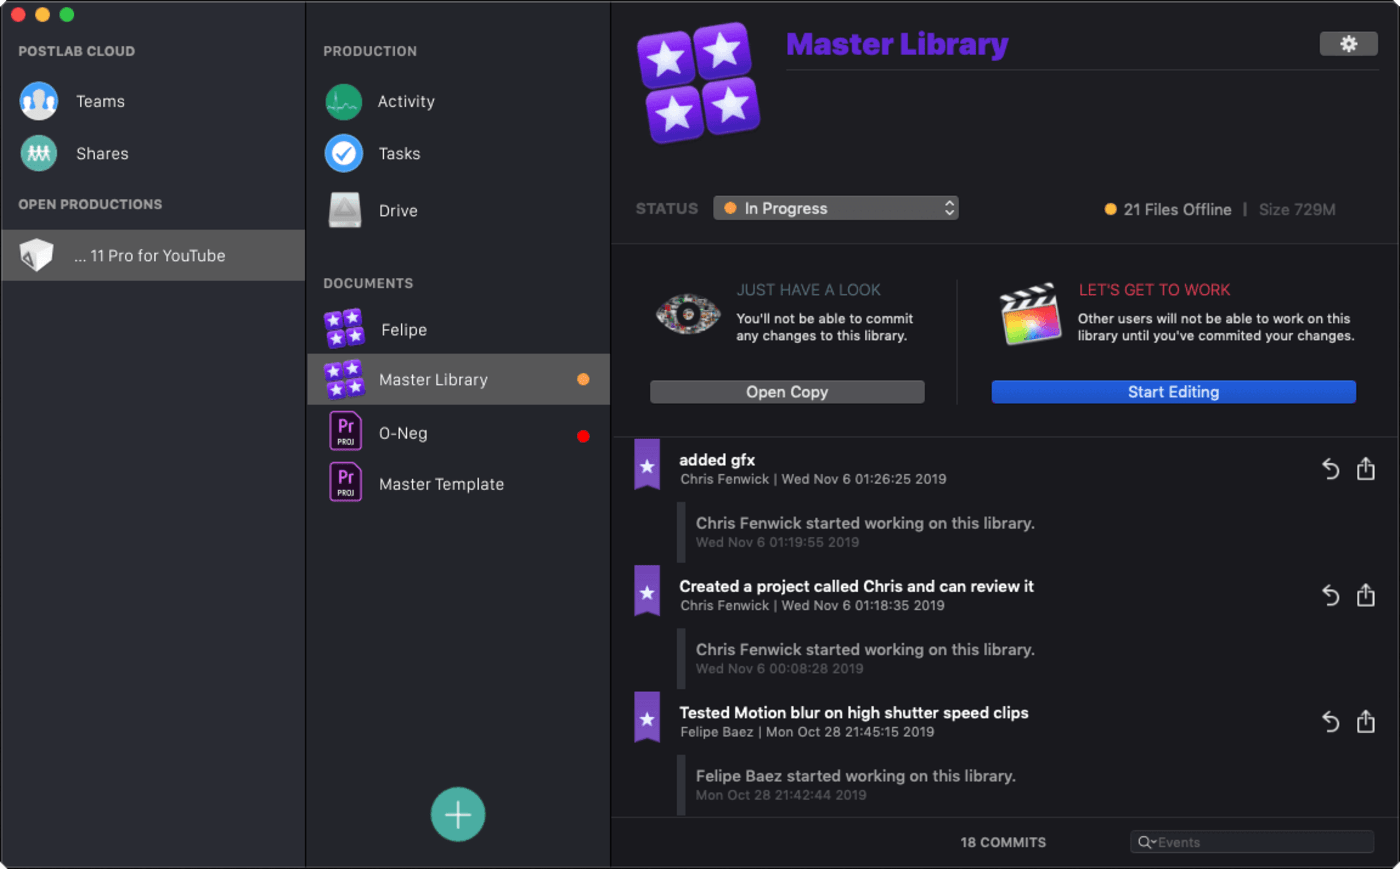
5. Working collaboratively
It’s not uncommon for a team of editors to work on the same project. As the leading NLE for those working in “Hollywood,” AVID has feature sets specifically designed for a distributed team. But did you know you can also work with such a team with Final Cut Pro X?
If you’re working on a connected network using something like the LumaForge Jellyfish, you and a team of local editors can share the same audio and video media, and use different Libraries to work on different parts of a longer project. If you’re working with a team of remote editors, PostLab by Hedge is an app that allows your team to work on Final Cut Libraries remotely with version control.
I really cannot do this topic justice. So I recommend watching this quick video:
And for a quick demo of Post Lab:
6. The Multicam is one of the Best
Ironically, a lack of multicam editing was one of the many reasons editors abandoned Final Cut Pro when X was launched. Once they added it back, they did so with gusto! One could make a strong case that it is one of, if not thebest multicam editors in the business. As one pro editor on the Facebook Group Blue Collar Post Collective summed up nicely: “The angle editor is incredible. Mix and match any framerate, size, waveform sync, composite, double-up angles, resize, color correct, audio treatment, etc. Add in extra angles on the fly, final audio mixes, drive with Roles. All Dynamically affecting any Sequence, the clip is present in.” Need I say more?

7. Metadata
Another bit of irony when it comes to Final Cut Pro X is that new editors find it much easier to learn than veteran editors. They find it more intuitive. I believe that’s for two reasons. Largely because veteran editors are coming off a track-based paradigm that uses a number of filmmaking metaphors, like “Bins” that are confusing to those who aren’t familiar with outdated filmmaking terms (when was the last time you used a bin when cutting?)
Final Cut Pro X, on the other hand, organizes and looks at media like a database, using metadata. In a traditional track-based NLE that uses bins, a clip can only be located in one bin at a time. With Final Cut Pro X, you assign Keywords to whole clips, or parts of a clip. Those collections become the receptacles of your clips, replacing the bins.
But since they are keyword-based, the same clip can be in numerous keyword collections. If you’re editing a documentary about low-income housing, you could have a b-roll clip in a B-roll keyword collection, and that same clip in a more specific collection called Apartments.
The metadata capabilities add all kinds of power and flexibility to what you can do in Final Cut Pro X, from search to organization, you’ll wonder how you ever worked without it.
8. The Audio Features
You would never know it at first glance, but the audio features in Final Cut Pro X are so powerful, I actually edit my podcasts in it. You can add compressors, limiters, EQ, and an assortment of audio filters (e.g. echo, telephone, adjustments for room size, etc.) But even more amazing is the fact that you can make audio adjustments at the audio sample level (which is 1/80th of a frame). This has been a godsend for me when I’ve needed to make minuscule audio cuts or adjustments at sub-frame level.
9. Edit on Your iPad (sort of)
Version 10.4+ with macOS Catalina (or laters) introduced “Sidecar.” This gives you the ability to use your iPad as a secondary monitor. This is great if you want to have your timeline and inspector on your main computer, and view your Browser and all your clips on your iPad.
But, using Sidecar, you can actually display your entire window on your iPad. So as long as your main computer is close enough, you could use an Apple pencil and sit and edit on your iPad on your couch. Until we get the real thing on iPad, this will have to do.
10. The Power of Motion
Motion is Apple’s answer to Adobe After Effects, and while I haven’t used it that extensively, I continuously hear how powerful it is for doing VFX work. But, beyond that, you can use it to adjust the ability of effects in Final Cut Pro or create your own from scratch. That kind of power and functionality is the very definition of a professional tool.
What are your favorite features, tips, and tricks?
Twenty-two years ago this month, Final Cut Pro version 1.0 was released and over the next 12 years it would grow to disrupt the industry.
Then ten years ago, Apple announced that it had totally chucked it all out the window and started from scratch with a new and improved program. They demonstrated their continued commitment to the pro community with major feature upgrades every few months for several years. Now, at just $299, a 90-day trial period—and reportedly, the most downloaded NLE on the planet—Final Cut Pro X not only lived up to its former glory but has far surpassed it.
Take note: Ten years later, it’s STILL only $299. No subscription.
Admittedly, it’s not going to be a tool for everyone. At the end of the day, it’s not the tool, but the talent that matters the most. But there is no denying Final Cut Pro X’s stance as a professional tool, and if the only reason you’ve never used it or tried it is because you’ve heard it was just “iMovie on steroids,” well in the immortal words of the late great Biggie Smalls:
“And if you don’t know, now you know…”
What are your favorite features of Final Cut Pro X, and what are your hopes for the next ten years? Let us know in the comment section below!
[If you enjoyed this blog post, stay awhile and take some time to watch an abridged version of the 2019 documentary “Off the Tracks” which catalogs and tells the story of the release of Final Cut Pro X and the impact that had on the industry.]
[If you want to stay a bit longer, watch this video just for fun as iJustine (Final Cut Pro X) takes on Linus (Adobe Premiere) in a head-to-head editing contest.]
Other topics you might like

Peak Design Unveils Carry-On Luggage Designed for Photographers and Video Pros
Updated on Apr 21, 2025

This Race Documentary is a Masterclass in Real-Time Storytelling
Updated on Apr 15, 2025

Capture Beautiful Photos With This Free, 3D-Printed, DIY Robotic Panorama Head
Updated on Apr 10, 2025

OWC’s New ThunderBlade X12 Awarded Best Desktop Storage of NAB 2025
Updated on Apr 9, 2025