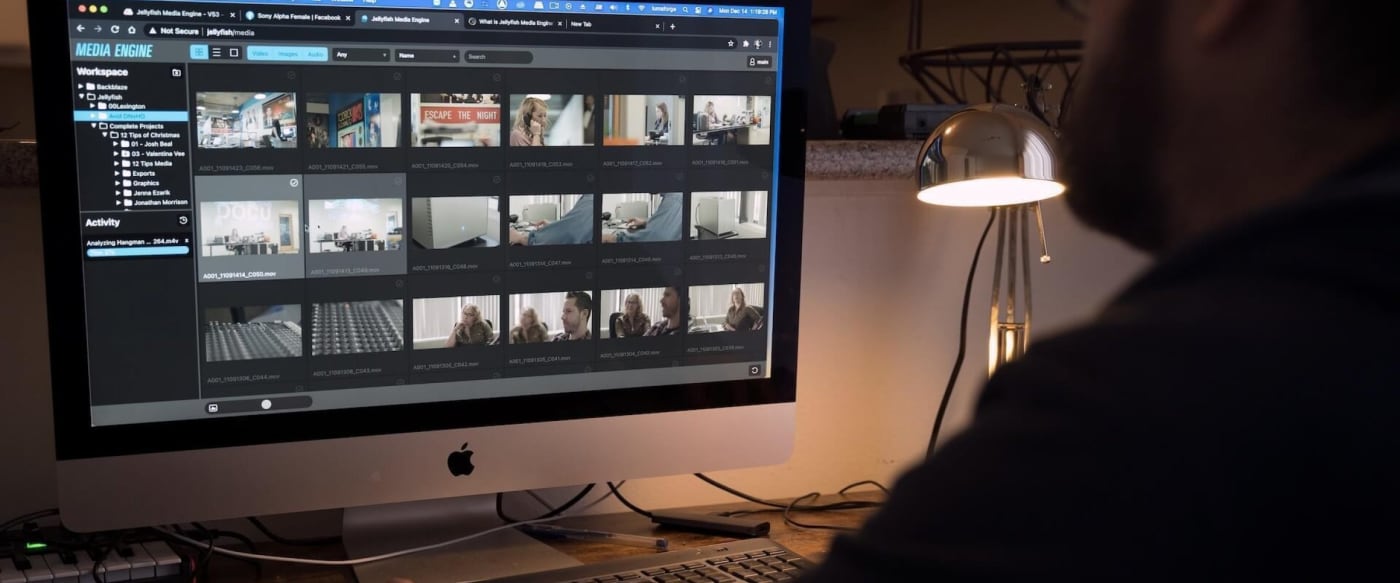
This fall, we announced Jellyfish Media Engine, a new piece of software that is now available for all Jellyfish users. We are excited to tell you more about how it can be used as part of your video editing workflow!
First, let's start by saying that the Jellyfish is not just any storage device. Unlike external hard drives and RAIDs, the Jellyfish runs its own operating system which means that it is actually more like a computer than an external hard drive. Similar to your workstations, the Jellyfish can run software applications on its own. This leads us to Jellyfish Media Engine - a software application built for JellyfishOS.
What is Jellyfish Media Engine?
With Jellyfish Media Engine, you can access your media files stored on the Jellyfish via a web browser and easily export lightweight proxies versions of them. You can also transcode your media using a variety of other presets.
How is it different from what I’m already doing?
Transcoding using Jellyfish Media Engine is different from transcoding using any other tool on your workstation because it harnesses the processing power of the Jellyfish. If you currently use your workstation for transcoding, the process most likely consists of the following: the files are sent from your Jellyfish, or storage device, to your workstation, then transcoded, and then sent back to the Jellyfish or hard drive over the 10GbE/1GbE network. This means that instead of using the resources of your workstation for creative work, you are overwhelming it with processes that now can take place straight on the Jellyfish. By using Jellyfish Media Engine, you are opening up your network pipeline between the Jellyfish and your workstation to serve files only for your editing and color grading workload.
It gets even better if you are using Jellyfish Remote Access. While remote, you can trigger transcoding operations on your Jellyfish and your entire team will have access to your newly generated files no matter where they are. This makes proxy workflows effortless and eliminates the need for anyone to go into the office to create proxy files.
Additionally, Jellyfish Media Engine includes an integration with Kyno for Jellyfish in regards to custom metadata reading and writing. For example, if you add a tag to a file using Kyno, you will be able to search for this tag in Jellyfish Media Engine and vice versa. This allows you to find only the files that you need and create proxies and exports just for them if you already have entered tags, ratings, or other metadata to the files.
Sounds awesome! How do I get started?
Accessing Jellyfish Media Engine can easily happen from any workstation that is connected to the Jellyfish either locally or remotely. If you use a Mac, you can simply open your web browser and type “jellyfish/media” in the address bar. If you’re using a Windows or Linux workstation, you type the IP address of your Jellyfish followed by “/media” in your web browser.
Moving forward, Jellyfish Media Engine will come pre-installed for all Jellyfish customers. If you already own a Jellyfish, our support team will happily assist you with the installation process. Simply reach out to support@lumaforge.com and we'll take care of you.
Jellyfish Media Engine will be available for all customers with an active support plan as of December 15, 2020. If you have any questions, please reach out to one of our workflow specialists!
Other topics you might like
LumaForge is now an OWC company!
Updated on Jan 14, 2021
Kyno for Jellyfish - Better than Finder
Updated on Dec 15, 2020
Save time and money by future-proofing your video editing workflow
Updated on Dec 10, 2020
Is Final Cut Pro X for Hollywood?
Updated on Oct 27, 2020
Meet Your New Pre-Editing Process
Updated on Oct 19, 2020
Video Workflow: A Quickstart Guide
Updated on Oct 13, 2020
Video Marketing 101
Updated on Oct 7, 2020
Video in Education
Updated on Sep 29, 2020
Backup your Jellyfish to Backblaze B2 Cloud Storage
Updated on Sep 24, 2019
 USA + International
 OWC Canda
 OWC Europe


