I recently completed mixes for a twenty-episode video series produced by Wistia set for release later this month. It involved two narrators and over a dozen different interviewees in as many locations. As you might have guessed, mixing that amount of talent recorded at various locations presented a number of challenges—from different room acoustics to vocal timbres to background noise. Compromises were inevitable in order to achieve the most natural sound since the final edit often had quick cuts from location to location. As we worked our way through episode after episode, I noticed that a pattern had formed—when I had a specific problem I wanted to solve, I generally reached for the same plugin (or sets of plugins) every time. In this installment of the Pro Audio blog series, I’ll share my favorite plugins and how I used them to achieve consistent mixes from episode to episode.
About the Source Files
All the audio files for each episode were delivered as a set of stereo files and broken out as follows:
- one music track
- one effects track
- one narrator track
- one track with all the on-location interviews
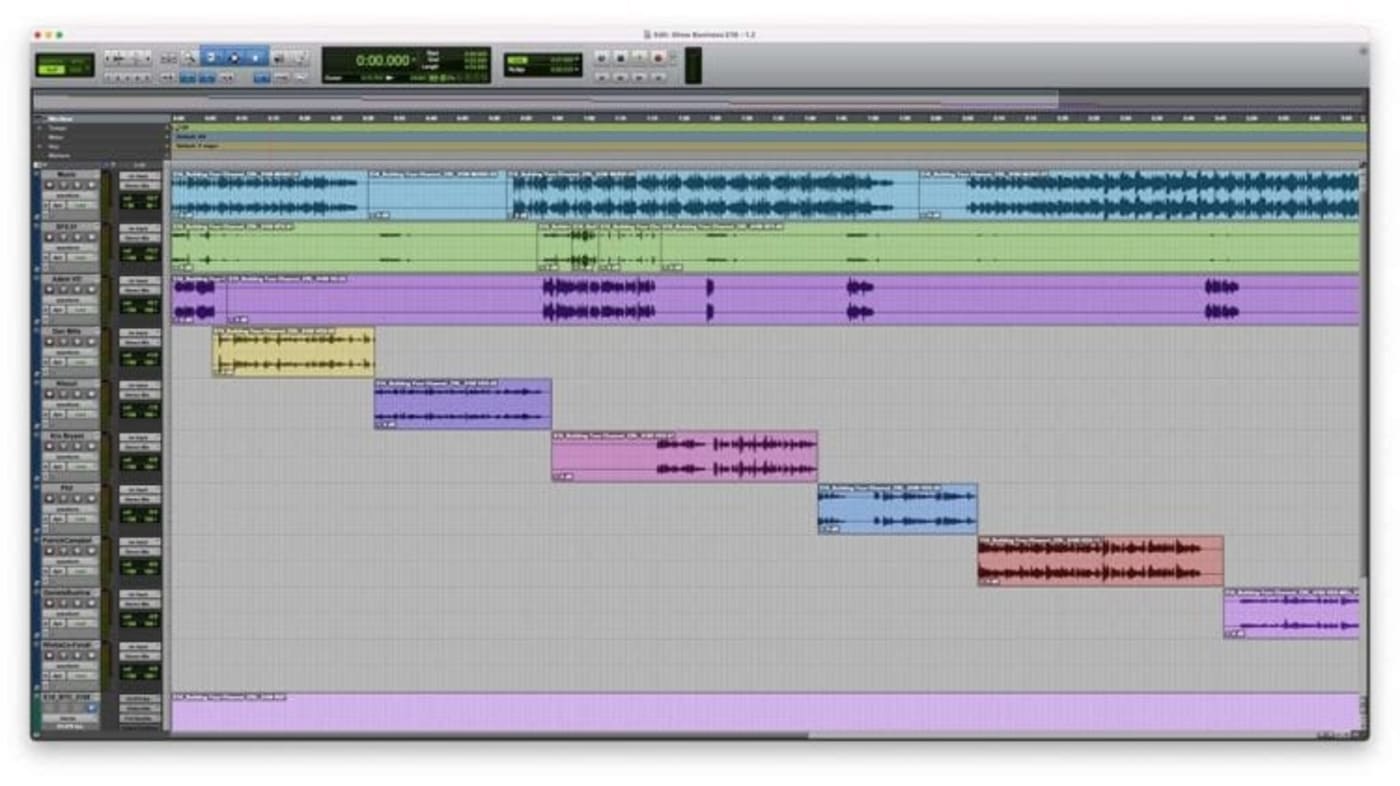
In the Pro Tools screenshot below, the first track is a music bed, the second is for sound effects, and the third is the narration voiceover. The remaining cascading tracks are for the various on-location audio recordings that have been separated and broken out (by me) so they can each receive their own processing (EQ, noise reduction, compression, etc). This is an important step in the workflow as there is a wide discrepancy in level, speech intelligibility, tone, and timbre between these various locations. As mentioned above, the on-location vox track is actually delivered as one continuous track. Before I do anything else, I take the time to go through and break out the audio from each location so that lives on its own, dedicated track. This will make it much easier (and faster) to apply a unique treatment that’s tailored for the on-location environment and on-screen talent.
Audio Repair and Damage Control
After I’ve parsed out the on-location interviews to their separate tracks, I’ll do a quick listen through each one and determine what kind of audio repair I might need to apply so that I start with the cleanest possible sound. It will sometimes be impossible to get it pristine, like if there is a really loud HVAC in the background. In those instances, my goal is to find a happy medium, where I have achieved a decent amount of noise reduction without adversely affecting the primary audio, in this case the voice.
Audio Cleansing Tools
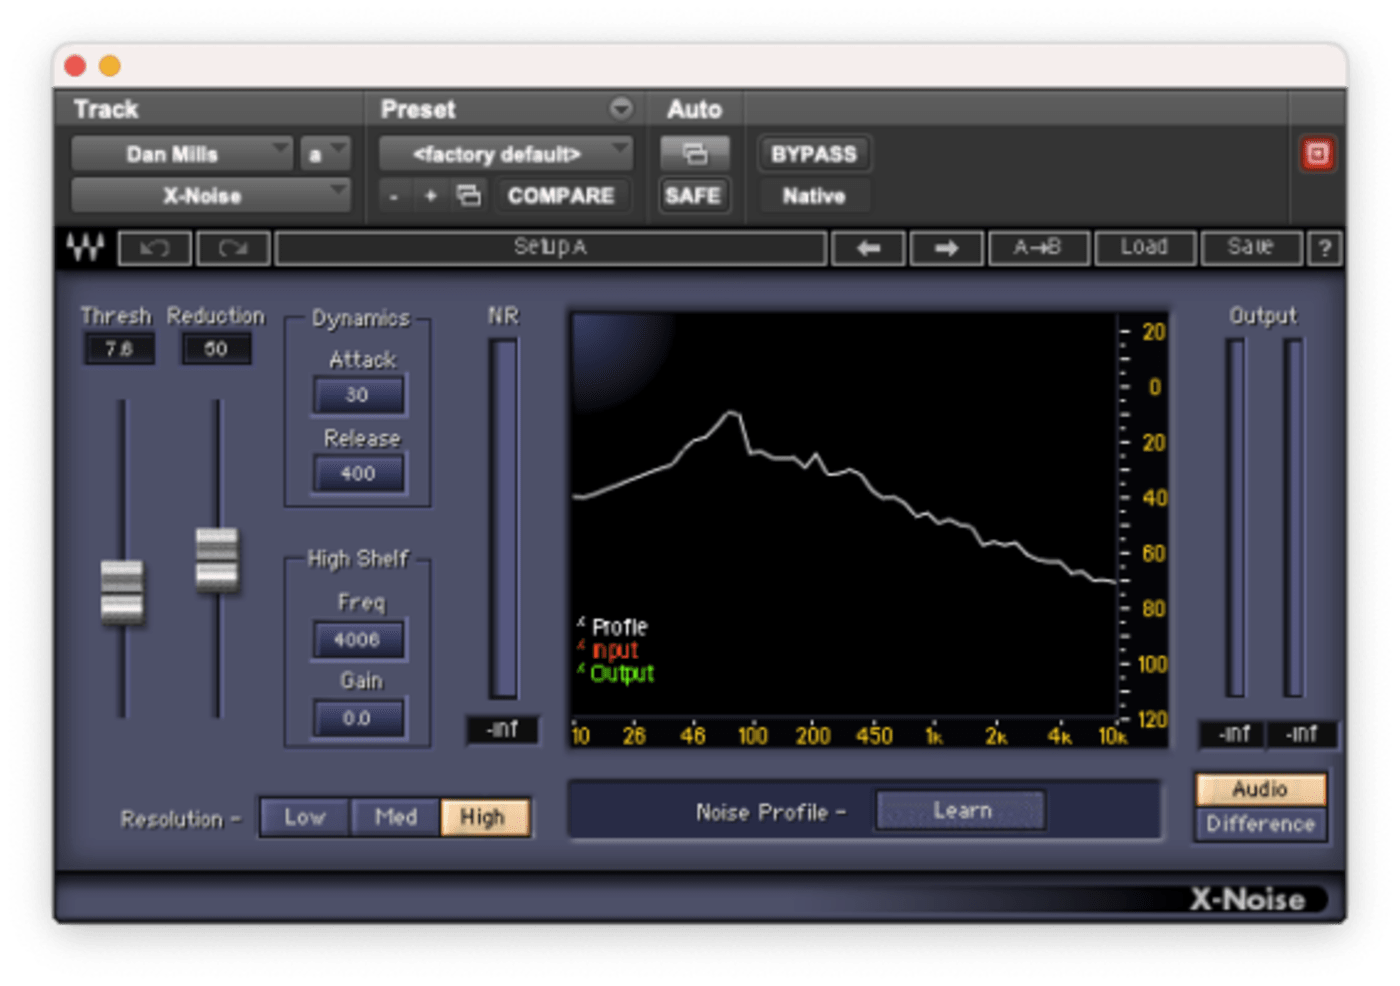
Waves X-Noise
If the recording environment has distracting noise, whether a low rumble, HVAC, or noise from an open window, X-Noise can usually do a great job once you’ve trained to identify the offending noise in isolation. Once you’ve trained the plugin you can then dial in the threshold, amount of reduction, and several other parameters. The sweet spot is usually pretty obvious and it will either completely remove the noise or reduce it to a more manageable level.
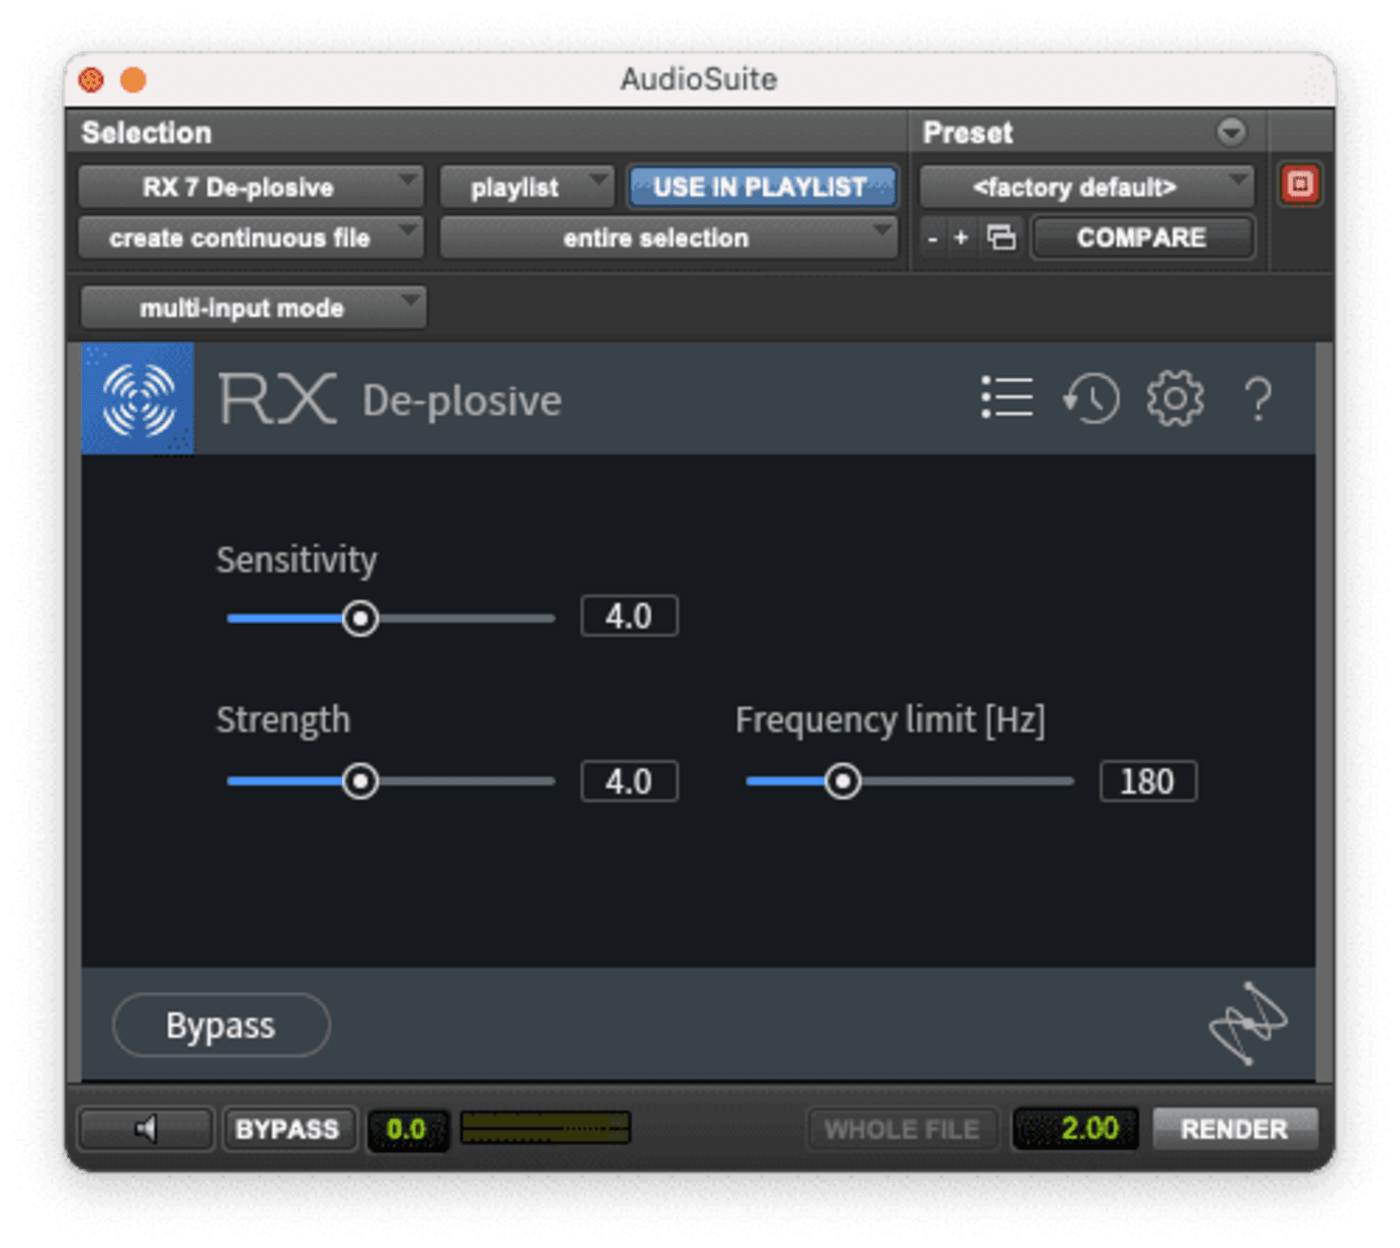
RX De-plosive
While most of the interview tracks do not have major plosives, I still prefer to apply some offline processing across all of the dialog tracks. I use a transparent removal setting to avoid any artifacts.
Depending on the length of your audio file, this can take a few minutes, so I usually stretch my legs and make a cup of tea or something. By the time I return, I can be assured that this session is now plosive-free.
RX Mouth De-click
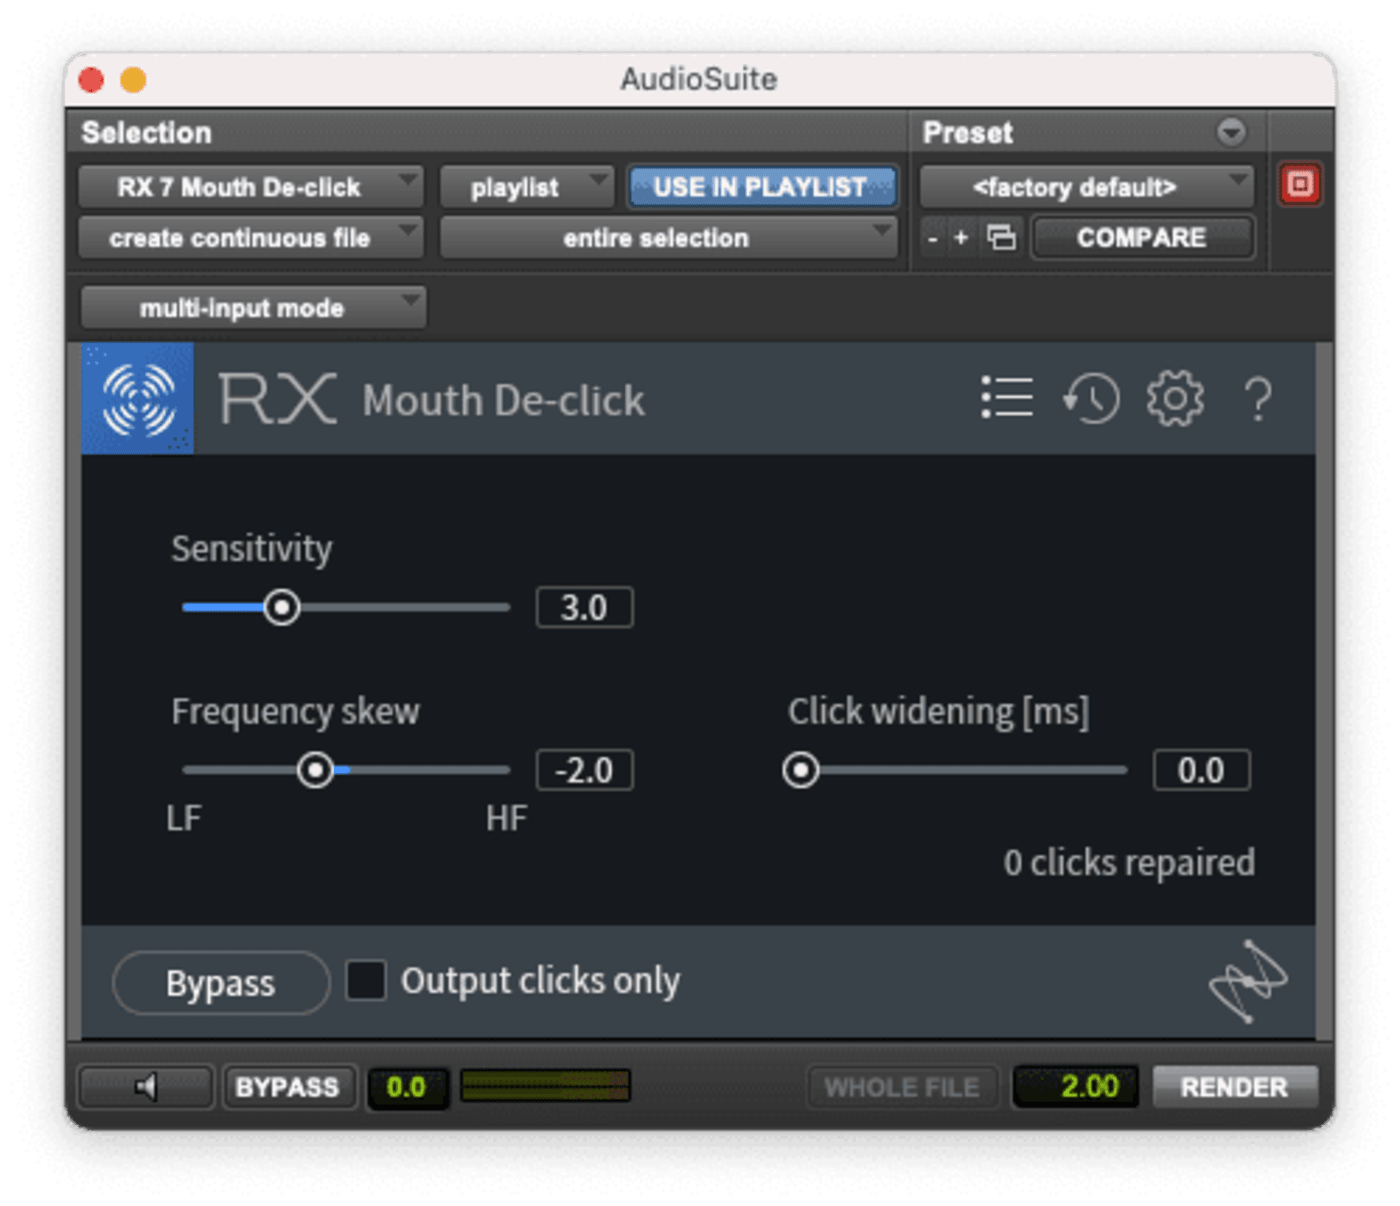
If you notice that your recorded dialog is full of mouth slaps, and other distracting noises, RX Moth De-click is an incredible tool to have in your bag of tricks.
Just like the De-plosive, I tend to select a broad swath of audio and let the plugin do its magic offline. The more you can do offline, the more you’ll free up your CPU for real-time processing, and ultimately, lower latency performance.
I always start with a very conservative setting and find that it does the job very well, without affecting the audio you actually want to keep.
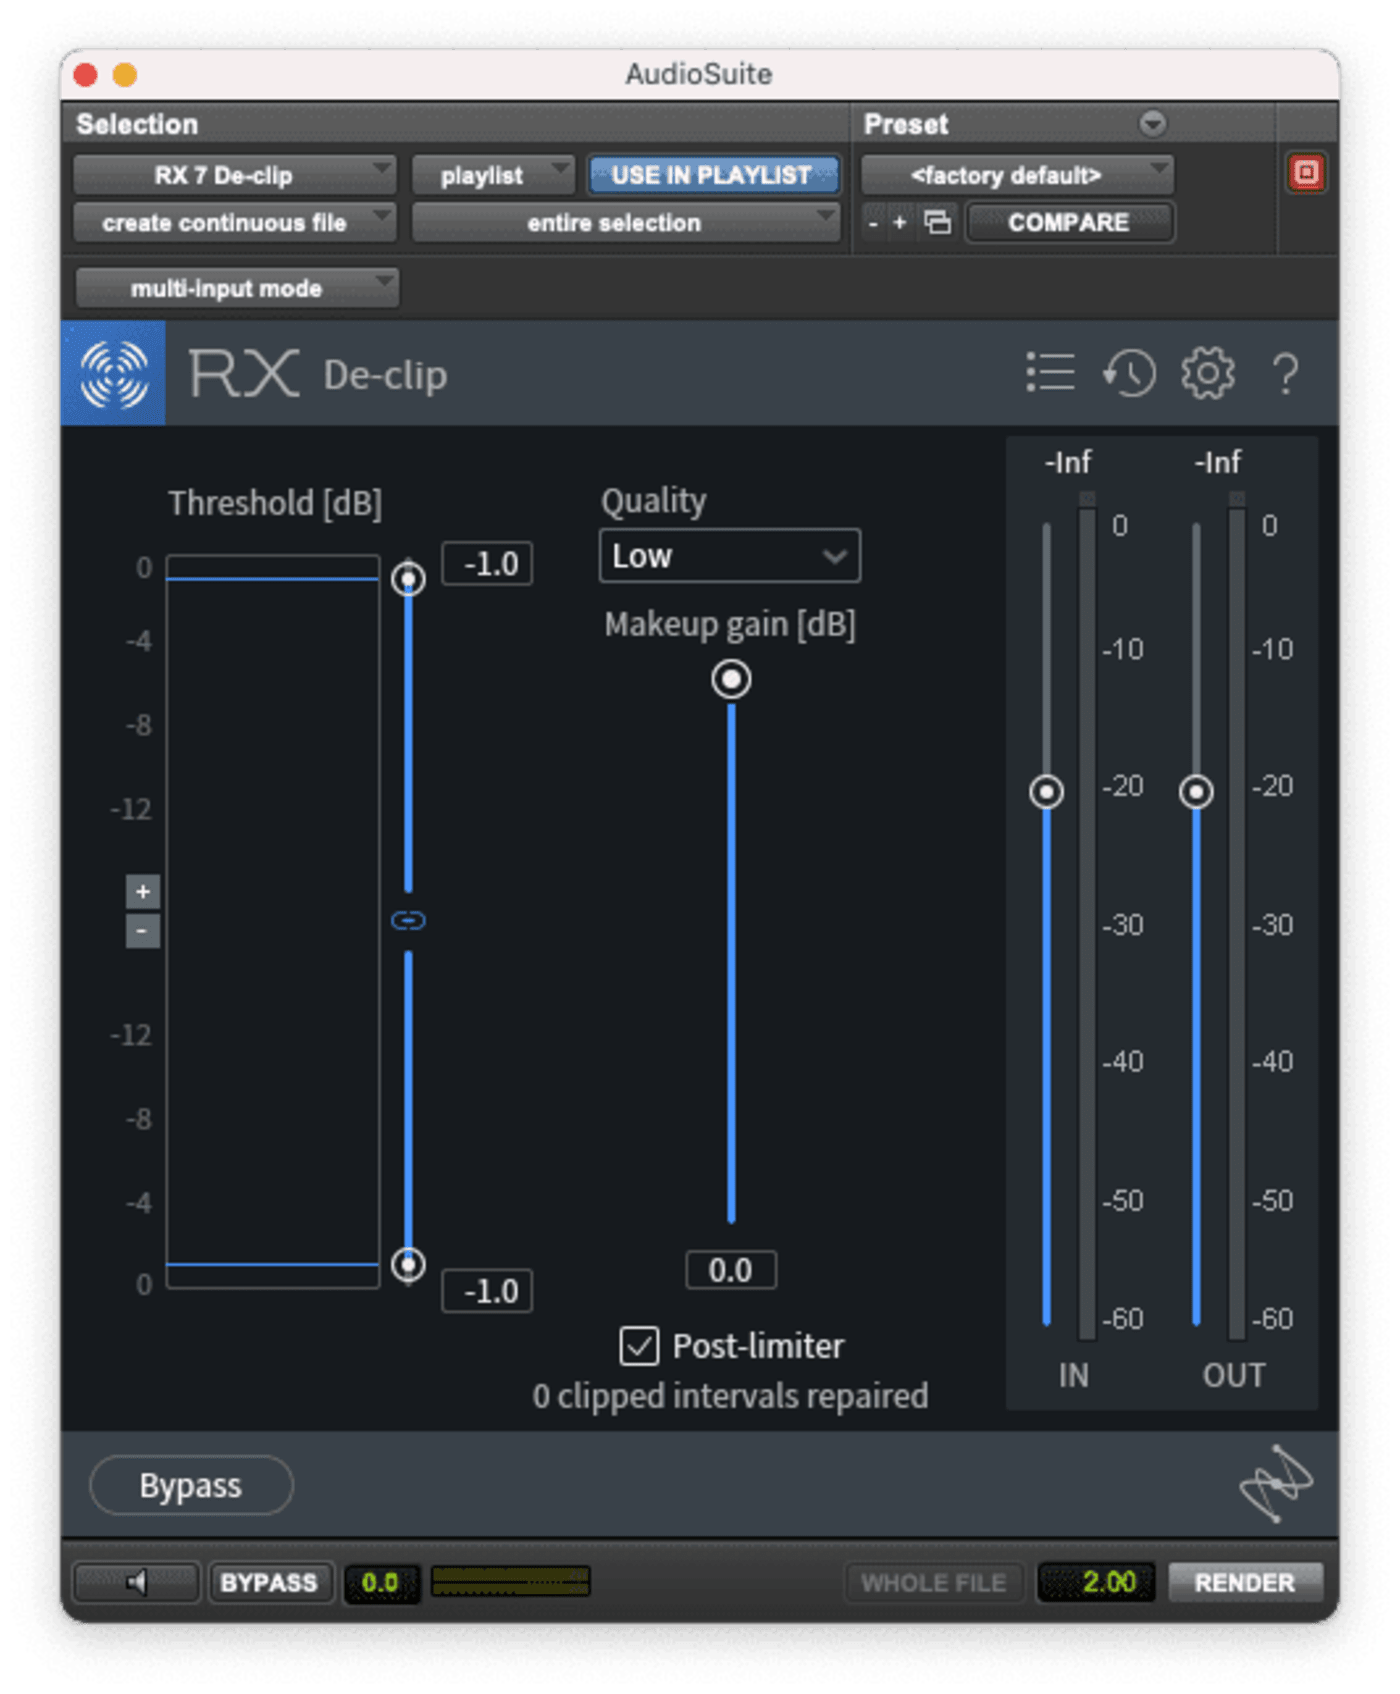
RX De-clip
Another indispensable tool from the RX suite is the De-clip plugin. Whether you’re dealing with a recording that has noisy, distorted mic pres, or if the recording engineer simply recorded the dialog too hot, De-clip does an amazing job at removing most (if not all) distorted audio from any track you throw at it.
I find that this isn’t necessary on many tracks, but occasionally I’ll need it in a spot or two if there’s a sudden loud moment that clips the waveform.
Once you’ve used these tools to clean up any issues with the source recordings, it’s time to start processing the audio and begin mixing. Here are some of my go-to plugins for music beds, sfx, and dialog tracks.
Plugins for Music Beds
I generally keep this really simple—less is more unless there is a glaring issue. My two plugins of choice are the BX_Console SSL 9000 J by Brainworx and the Neve 33609 by UAD.
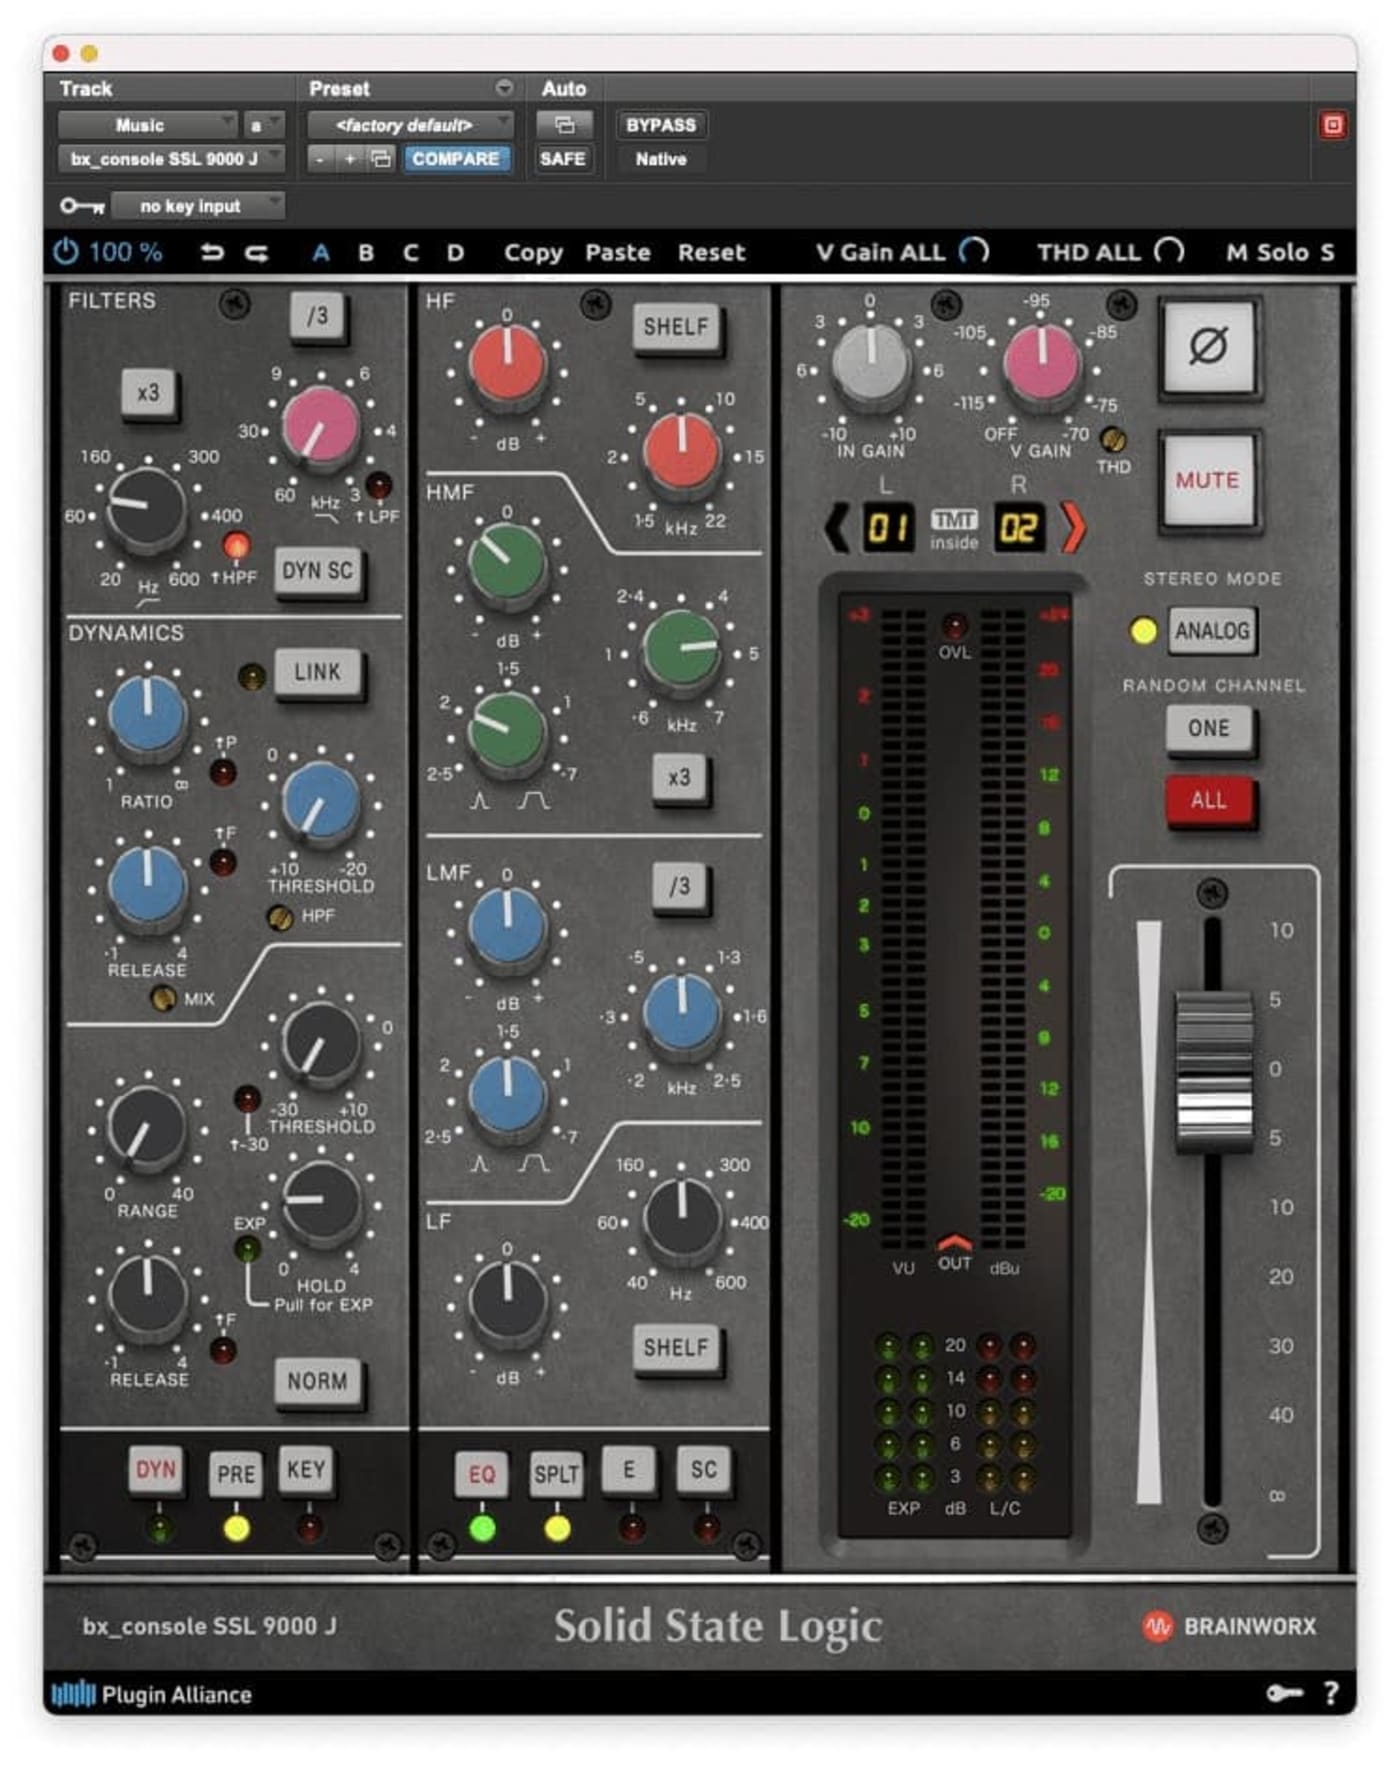
bx_console SSL 9000 J
Whenever I just need to do some minor EQ adjustments, I’ll almost always reach for one of the bx_console plugins. Within seconds I can dial in some settings to achieve the sound I’m going for. In this case, a moderate high-pass filter and a touch of EQ to reduce the intrusion of some snare drums in the music bed is all I needed to get things more balanced.
In this instance, I’m not using the bx_console for any dynamics control and the “V Gain” is turned all the way down to keep the noise floor to a minimum.
Neve 33609 by UAD
The UAD 33609 is a fantastic emulation of the famed Neve 33609 Stereo Compressor/Limiter. I find it to be a great way to tame the dynamic range of music beds to help them sit better in the mix. I keep it pretty mild, with a 2:1 ratio and only about 2 or 3 dB in gain reduction. It sounds good and it works, so I rarely find myself reaching for anything else.

Plugins for Sound Effects Tracks
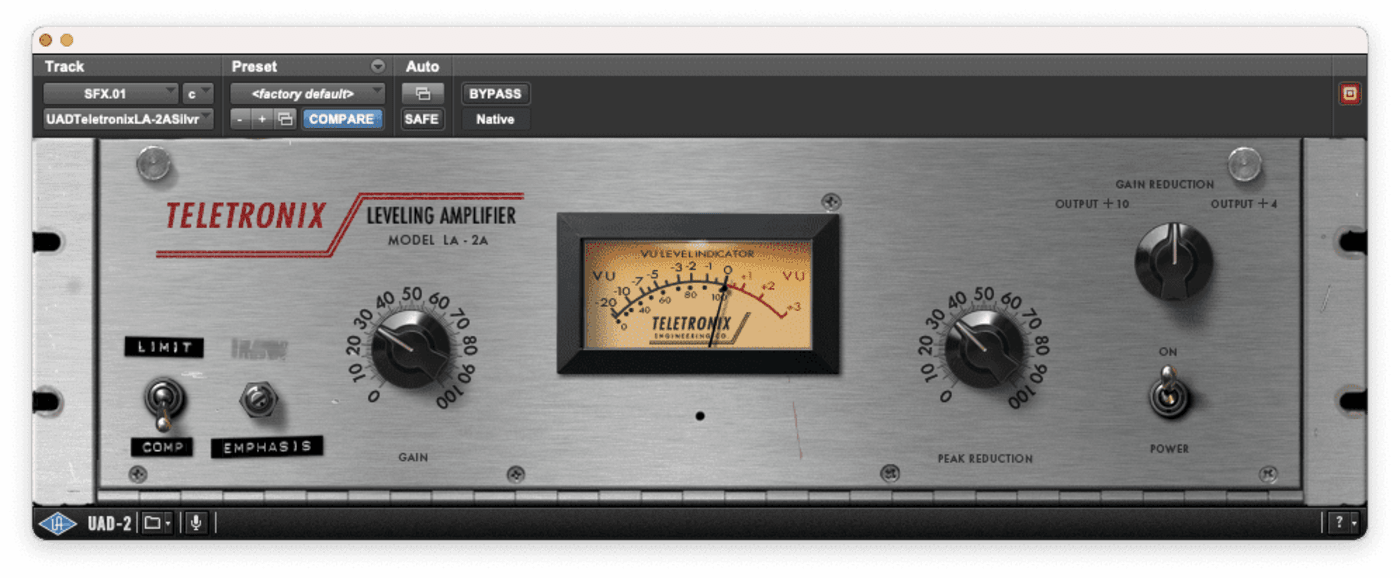
Similar to the music bed track, I generally throw a channel strip plugin, like the bx_console, on there and a standalone compressor plugin. In this case, I opted for the UAD LA-2A Silver. As an Opto compressor, it does a great job catching some peaks without necessarily sounding too compressed.
Individual Dialog Processing
If you recall from earlier in this post, you know that the source file for the on-location dialog was delivered in one long audio track and then broken up into individual tracks for processing. In general, I have a shortlist of plugins that I use at my discretion on each individual track. They are:
- bx_console SSL 9000 J
- RCompressor by Waves
- RDeEsser by Waves
- EQP-1A by UAD
- LA-2A Silver by UAD
- F6 EQ by Waves
The bx_console is generally used on every individual dialog track, as are the RCompressor and LA-2A. As in the case of the music bed, the bx_console is primarily used for reductive EQ purposes, whether a high pass filter or small cuts to help clean up the dialog audio. If for some reason, I need to make more surgical EQ moves, I usually pull up the F6 by Waves. It gives me a bunch of bands that give me all the flexibility I need to reduce harshness or muddiness.
I use the RCompressor to dial in about 2 or 3 dB in gain reduction on average, while I sometimes allow the LA-2A to work quite a bit more liberally, with gain reduction peaking around 5 dB or even more. The LA-2A does a great job offering moderate to strong compression without sounding unnatural. I use both the RCompressor and LA-2A in a serial configuration which helps to control the dynamic range quite nicely without over-compressing the original recording. This avoids the need for large fader movements during the mix.
The RDeEsser is used on an as-needed basis to control sibilance, as is the EQP-1A when something just needs an injection of some life.
Stereo Mix Processing
Nothing elaborate happening on the stereo mix (print) bus—a straightforward combination of the bx_console, Neve 33609, and the Waves L2 Limiter. The bx_console may have a high-pass filter and nothing else engaged, while the 33609 is also carrying a light workload, perhaps compressing 2 to 4 dB with a fast release. The L2 acts as the final limiter and bumps up the overall level of the final mix while taming any sudden bursts that might otherwise peak out of the average dynamic range. The result is a smooth, balanced mix that’s ready for delivery to the video editor!
If you have any questions about the process, or if you have your own approach and plugin preferences, feel free to leave a note in the comments section below.
Other topics you might like
Five Videos to Expand Your Creative Knowledge: Mobile Multi-Cam, Dolby Atmos, Lighting, and More
Updated on Aug 17, 2023
The Critical Tools for Recording Music
Updated on May 16, 2023
Final Cut Pro and Logic Pro are Finally Coming to the iPad
Updated on May 9, 2023


